


This submit at first appeared on CheckingInWithChelsea.com.
Influenced by now trending raffia-protected furniture, I’m exhibiting you how to establish your very own Television console desk covered in wallpaper for $150!
**I partnered with Titebond for this project which tends to make me really excited because…I utilised their original wood glue and ONLY their wooden glue to keep my overall table with each other! What?!**
The intention for my home was a tall and wide desk with no any obvious supports that broke up the thoroughly clean lines. The all round dimensions of my finished desk are 70″ extensive and 35″ tall. So preserve that in thoughts with the supplies and minimize lists underneath!
What to Acquire
What to Minimize
1x2s:
- (4) @ 32″
- (7) @ 14-1/2″
- (2) @ 70″
3/4″ plywood:
- (4) 32″ lengthy x 16″ broad
- (2) 70″ very long x 16″ huge
Making the Console Table Containers
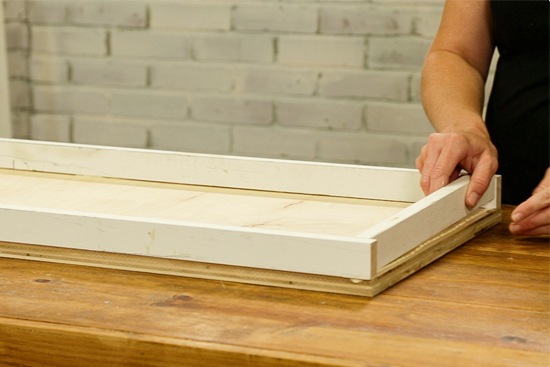
Primarily we are making 3 independent boxes. 2 will be the legs and 1 will be the tabletop.
Begin with the 2 lesser containers (legs) to get your ft wet. Lay a 32″ piece of plywood down and add your Titebond wooden glue alongside the major side of all 4 edges. Then lay a 1×2 on its aspect on top rated of the glue, earning confident it is flush with the edge of the plywood.
The 32″ pieces of 1×2 will go from edge to edge of the plywood even though the 14.5″ items must healthy snuggly amongst.
At the time you have the 1x2s lined up on the edges just so, operate a bead of wooden glue on the prime of them.
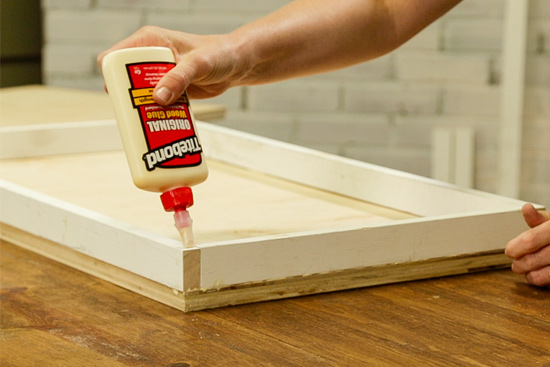
Carefully established a further 32″ piece of plywood on top rated. Now your box leg is full!
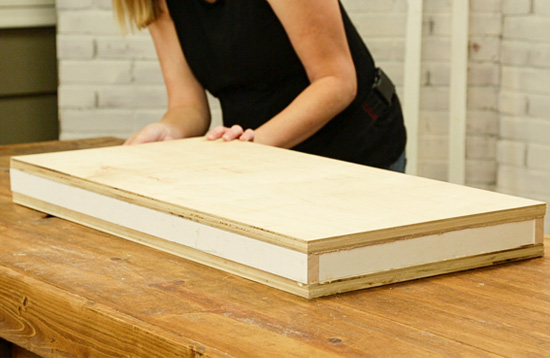
Repeat for the other leg, employing a handful of clamps if vital to create super limited joints!
You are going to adhere to the very same actions to build the tabletop, only you’ll include an more 14.5″ 1×2 help someplace in the middle. This will help continue to keep the extended 1x2s from sinking in and incorporate over-all security to the table.
Waiting is the Most difficult Part
If you have ever tried to pry wood aside which is been glued with Titebond, even for a couple of minutes, you know it’s generally impossible to do effectively.
And that is why you never need to have any nails or screws to hold your table collectively. Wooden glue, when completely dried and remedied, is really more robust than fasteners! So outrageous but oh so genuine!
Enable your 3 packing containers dry and set up for at the very least 30 minutes ahead of going on to the subsequent action.
Incorporating Legs to the Desk Leading
Assuming your floor is stage, established your leg bins upright, approximately 70″ apart. Utilize sufficient quantities of wood glue to the tippy leading of your legs and gently set the tabletop in place. Change the top so it’s flush with the outside of your leg on 1 side prior to changing the other leg.
For a table this substantial, it would be helpful to have a pal or spouse keep the great aspect in area though you manipulate the other facet. But with a few back-and-forths, you can handle it your self way too!
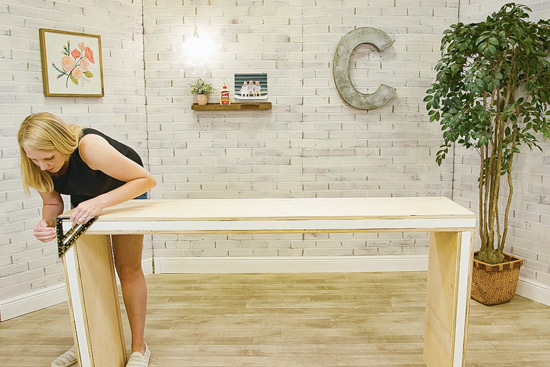
I applied a pace sq. to make certain the legs have been at 90-diploma angles. Not a lousy tool to have in your arsenal if you don’t have a person already!
When you’re happy with your leg predicament, let it sit for about 30 minutes ahead of you get started masking all the things in wallpaper!
Adhering Wallpaper to the Console Desk
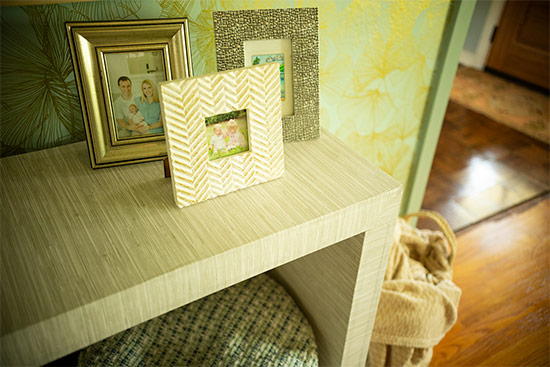
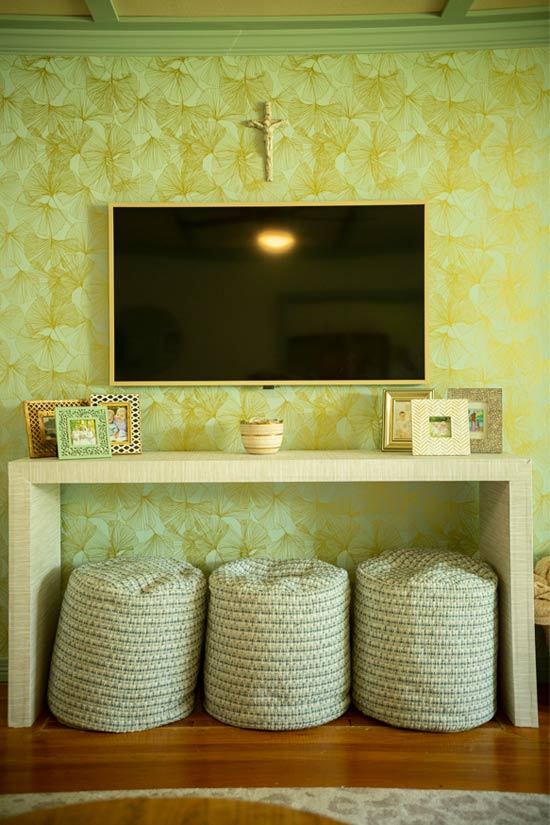
I really like the texture of a raffia or gentle-colored wooden desk. And just after a mate shared an economical peel-and-adhere wallpaper she made use of that looked like faux grasscloth, I understood I could use that to produce the texture I wished for this piece of furniture.
I also wished the desk to seem like 1 slab of wooden. To build that influence with the wallpaper, I started out at the base of a person leg, took it up and over the top rated, and then down the other leg with no any cuts or seams. I also lined it up with the again edge of the table so it could fold and go down the entrance edge without any seams.
Hopefully, the movie far better illustrates how I handled the corners, so watch it earlier mentioned! I experienced the paper that came from the tabletop under the paper from the legs. Then I scored on the paper by itself the 45-diploma angle from the within corner to the outdoors corner of the wood structure. I slice any surplus paper from the leading and then trapped it down. Future, I slice the layer of paper coming from the legs along the line I just scored. So when every little thing was laid flat and stuck down very good, it appears like my legs and tabletop were being mitered collectively.
At first I prepared to very carefully trim the extra at the conclude of the entrance edge, but since it folded so properly without having any bubbling, I folded the inch or so excess and caught it to the inside of of the desk.
And that acquired included up subsequent with one more run of wallpaper. I bought more than enough wallpaper (2 rolls) to go over the inside of of the legs and the underside of the tabletop. And since I was significantly less anxious on the underside about viewing seams, I covered them independently and ended up not covering the underside of the tabletop by itself. You definitely cannot see it in the course of day to day use and it saved me $27 by not opening the second roll.🤷♀️
Oh and for the legs, the inside wallpaper was flush with the entrance edge so the surplus was just folded over and stuck on to the back of the legs. Yes, it appears unfinished from the bottom. BUT WHO CARES?!

The only spot I essential to trim wallpaper was at the base of the legs. I propped up one particular leg at a time with a scrap piece of 1×2 so I could trim it as specifically as probable. I didn’t want any sliver of wood demonstrating and providing away my table’s insider secrets!
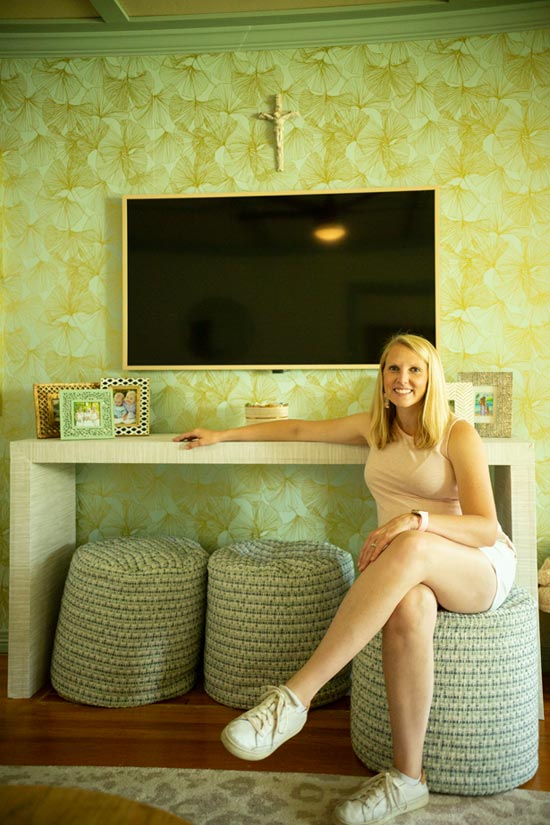
About an hour or so just after completing the table, there was continue to a minimal wobble to it if you shifted it from side to side. But immediately after leaving it by itself overnight, the wiggle was gone and this table was sturdy, stable and completely ready to transfer to its new house!
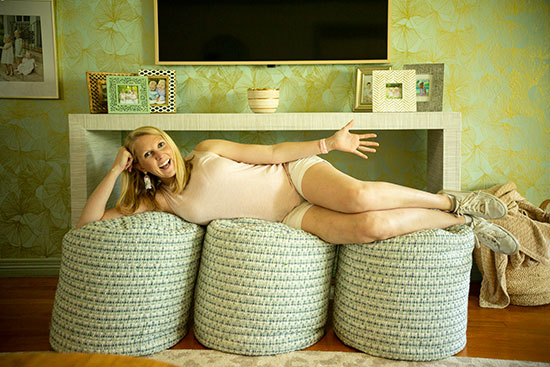
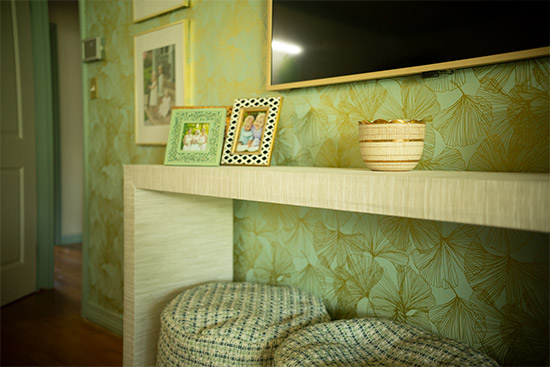
I ordered our poufs from Residence Depot* to serve as decoration AND extra seating. They are like advanced beanbag chairs and the children have by now pulled them out to sit and roll close to several moments!
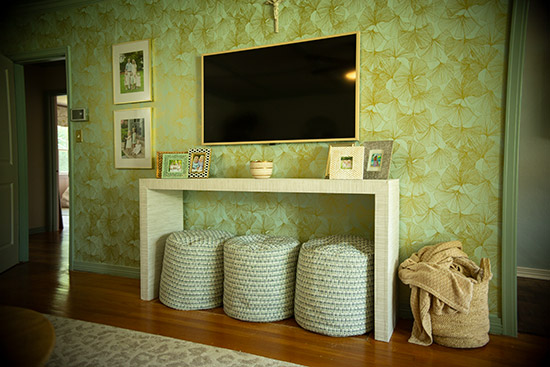
The wallpaper at the rear of the Tv set and console was lately hung to build an accent wall. I like it by by itself but I’m nevertheless hoping to determine out if I like the home as a entire with the wallpaper in it.🤔
But we do enjoy the sleekness of our Frame Television set*! It was a splurge we handled ourselves to when our former property bought for way more than the asking rate. Now I’m imagining I may brush some gold paint on the frame to match other gold frames in the place. The projects and strategies under no circumstances quit all over listed here! Ha!
*This put up consists of affiliate hyperlinks.*
More Stories
Deciphering Car Insurance in Malaysia
Vlogging Equipment: What You Need to Get Started
How To Find The Best Plumbing Business To Fix Your Leaking Tap